There are many different tutorials out there for repairing stucco patches but what if you have a smaller hole in stucco that needs to be repaired?
Is it the same process?
The process is actually much simpler, cheaper and requires a lot less skills than you might think.
This is a short tutorial on how to repair a small hole in exterior stucco and how to do it so the elements don't ruin the inside of your wall. Let's get started!
The small holes that I am teaching you how to repair in this tutorial are smaller holes, like ones that you would typically find if there were holes drilled into the stucco with smaller drill bits.
I would say that this tutorial applies to holes up to 3/4" in size (maximum).
The Process At A Glance:
To repair a small hole in stucco, you will basically want to clean the hole with a small wire brush and then blow out the hole using compressed air or by blowing into the hole.
You will then apply caulking into the hole (polyurethane is recommended). Wait for the polyurethane to dry (usually 24-48 hours) and then apply patch material to match the existing texture and then paint to match the color.
The Longer Version:
I assume the shorter version will work for some people but there are probably others out there that need a little more detail... I get it!
Step 1: Prep The Hole & Clean It Out
The first step to repairing a small hole, is the same for just about any stucco repair, clean the surface (using a small wire brush). A small automotive wire brush is ideal for these sized holes.
You will want to use the wire brush on the outside of the hole and try to work the bristles into the hole itself, if you can. This will clean the surface and allow a better bond for the materials to adhere.
Next, you will want to blow out the hole to get rid of any loose material that can adversely affect the bond of the patch materials.
Using compressed air is your best bet from a compressor and an air chuck but you can also use a can of compressed air or simply blow into the hole.
Be sure to wear eye protection when blowing out debris as it can contain small particles of sand and cement that can cause some serious irritation of the eye and possibly damage it.
Step 2: Apply Caulking To Seal The Hole...
The next step in the process is to seal the hole with a quality caulking, and I recommend a good polyurethane caulking for this. I have personally used polyurethane and really like the protection it provides and the durability of the product.
Remember that these small holes usually go all the way to the paper itself and in some cases, pass through the paper, breaking the water barrier, so caulking is really the best way to seal the hole up properly and efficiently.
You will want to apply the caulking to the inside of the hole, making sure that the tip is inside the hole and you are filling the hole.
Apply enough caulking so it fills the hole. You will then take your finger and smear the caulking in different directions, making sure that the caulking adheres to every side of the hole.


The caulking should have a slight indention after doing this, which is perfect for the finish material. Make sure the caulking is not pertruding out of the hole before letting it dry.
Let the caulking dry, which can be as quick as 1-2 hours or up to 24 hours, depending on the temperature.
Step 3: Apply A Finish Product To Match Existing Texture:
The last step is to apply a finish products to the hole in order to make it look as good as possible.
This can be done with pre-mixed (acrylic based) patch compounds, sanded caulking or stucco finish material (acrylic/traditional).
Remember that these holes are very small and you are really trying to match the existing texture but small holes like these will hardly be noticeable by most people.
You will apply a small amount with your finger and spread the material into the hole and around the outside of the hole to blend the material into the existing stucco finish.
A quick swipe or two is usually all that is needed in order to match many finishes, especially since these are small holes and they won't be noticeable, in most cases.
Step 4: Decide If You're Done:
For most people, the patched holes will be complete but others may decide to paint the patch spots or want a closer color match to the existing wall.
You can either paint or apply a custom color matched finish to these patches to achieve a more seamless repair.
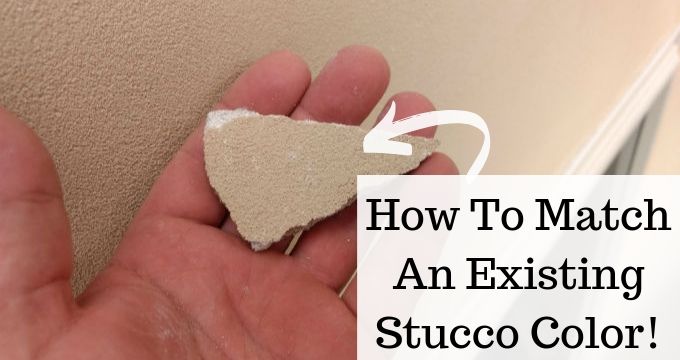
If you do decide that you want a custom color matched finish, you will need to get a sample of your stucco from somewhere on your home and bring it to a stucco supplier.
They will send it in and have it matched for you and then you can order the material. This takes roughly 2-4 weeks to do.