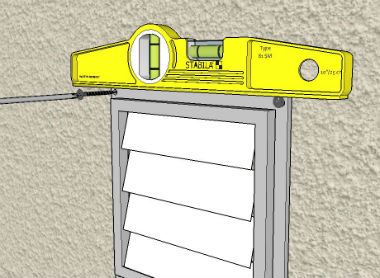
There are three main methods to installing a dryer vent through a stucco exterior and we will go over each of them in detail. All of these methods are different when it comes to removing stucco portion but are essentially the same when it comes to cutting a hole in the wood sheer underneath the stucco (if equipped).
The Three Methods You Could Use:
The First Method: This is the easiest, fastest and cleanest way to get the job done but does require a couple of tools in order to get the job done. A basic overview of the process would be to use a diamond hole saw to cut through the stucco, remove the stucco and then use a different hole saw to cut through the wood sheathing, if you have any. After that you simply install the vent, screw it to the stucco and would be done with it
The Second Method: This method requires tools as well and it is a little bit more primitive in nature (via the process) but it is another method and worth mentioning. Basically, you would drill many different pilot holes in a circle with a masonry bit and chip out the stucco, using a cold chisel and a hammer. You would still have to cut out the sheer underneath (if you have any) using a hole saw though.
The Third Method: This is the last method and is basically done by breaking out a larger area than the vent using a hammer. This works best if you do have sheer underneath the stucco and wood just end up doing more harm than good if you had stucco installed over an open stud wall (no plywood/sheer backing). Again, you have to cut this year underneath the stucco using a hole saw again, if you have sheer underneath.
Removing The Stucco For The Dryer Vent:
I will first discuss each of the three different methods for removing the stucco portion of the project (each in detail) and then move on to a basic tutorial on how to cut the plywood or sheer underneath the stucco if you have any on your wall.
Method 1: Using Two Different Hole Saws
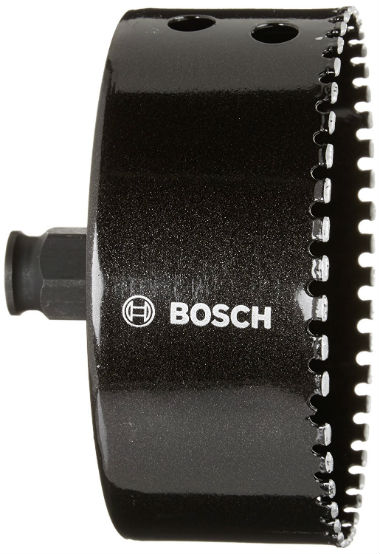
For this method you will need a diamond bladed hole saw and a standard hole saw. These two bits can be quite pricey but made the overall project so much easier and take a fraction of the time compared to the other two methods.
Diamond Hole Saw: For cutting through the stucco and other similar materials.
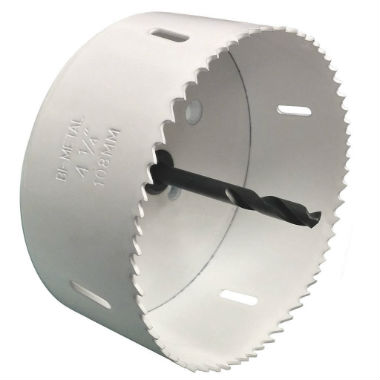
Standard Hole Saw: For cutting through wood primarily and will NOT work on stucco.
Step 1: Make A Mark On The Wall (Center Point)
Mark off where the dryer vent is going to go on the wall. It would be best to go in between two studs but is easier said than done. It can be difficult to find the studs on a stucco wall.
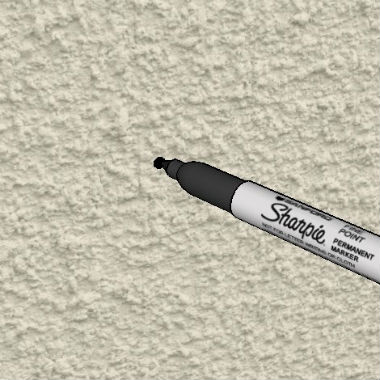
Make a mark for the center point of the hole saw, where you will put the point of the guide bit that is attached to the hole saw. A sharpie marker works very well for this and is easy to see too. Make sure your measurements are correct, double, triple check!
Step 2: Use The Diamond Hole Saw To Cut The Stucco
Next, you'll want to attach the diamond tipped hole saw to a drill. I have a cordless drill shown, which will work with a couple of charged batteries and in a lower gear setting. A corded drill also works good but having a variable speed model and using a lower speed will work much better.
Take your time and use a squirt bottle filled with water to spray it on the hole saw bit to cool it down throughout the drilling process (if it is made for wet cutting).
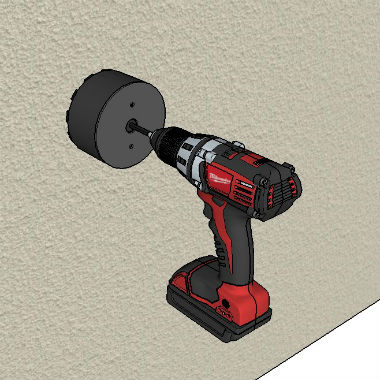
Helpful Tip: A three coat stucco system will have roughly 3/4" - 1" of stucco thickness (base coats and finish coat) and a one coat system (aka 2 coat system) will have about 3/8 - 1/2" of stucco thickness to the wall.
Step 3: Cut The Wire Lath Out
Next, you will want to cut the wire lath out around the edge of the circle you made. If you have a three coat stucco system, it will have black paper behind the wire and if you have a one coat system, (a.k.a. two coat) it will have white foam behind the wire.
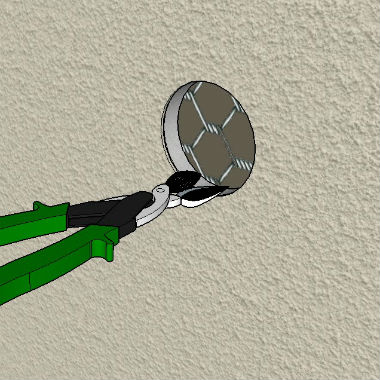
Three Coat Stucco
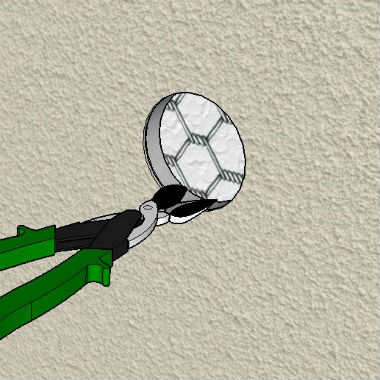
One Coat Stucco
Helpful Tip: If you have a one coat stucco system (using foam), then you can use the diamond tipped hole saw to cut out the foam easily and quickly, to expose the paper beneath it. The foam is usually only about an inch in thickness so keep that in mind and avoid going too deep.
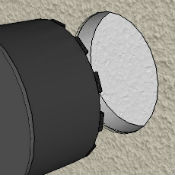
Step 4: Cut Out The Stucco Paper
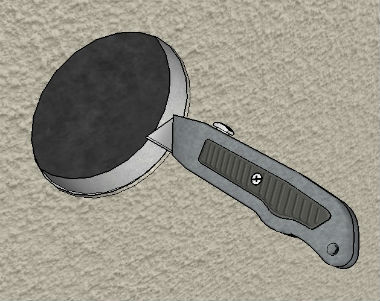
After you have cut out the wire (and foam, if you have foam) then you will want to use a razor knife to cut out the paper.
Use the circular edge of the hole saw cut to guide your blade. A new blade will be your best bet to getting a crisp, clean cut line so be sure to have a fresh one for this.
Method 2: Using A Drill Bit, Hammer & Chisel
Coming Soon!
Method 3: Breaking Out The Stucco & Patching
Coming Soon!
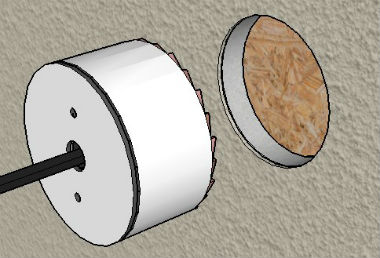
Cut Out Backing Of Stucco (If Present)
First, you’ll want to measure the stair tread length and cut a piece of weep for that stair. You can measure and cut all the pieces of weep for the entire stairwell ahead of time, if you’d like to.
It will save time and make it a lot easier to install as well.
Sealing The Existing Stucco And Paper (Optional)
You will need to seal the opening and the dryer vent itself. Most of the time, sealing the dryer vent alone will be good enough but for added measure, you can seal the opening itself too.
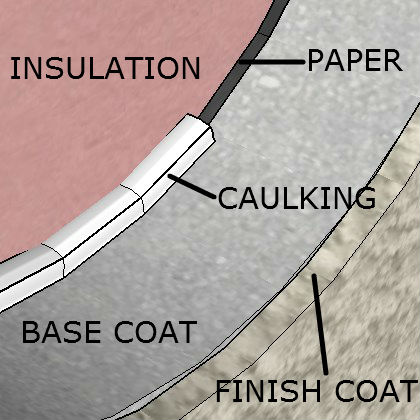
Sealing The Paper: This step is optional and is not usually required but it is a "cheap insurance" type of thing that can really make the penetration into the stucco that much better.
You would basically be sealing the paper and the base coat together with a polyurethane caulking (recommended).
Sealing The Dryer Vent To The Stucco Wall:
The next thing you want to do is to seal the vent to the stucco wall to ensure no leaking occurs between the two points. I would recommend using a polyurethane or silicone caulking for this.
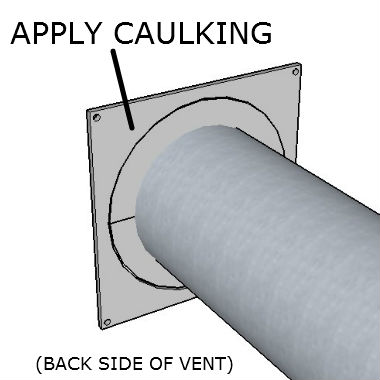
Step 1: Apply Caulking To The Back Of The Vent
You will want to apply a generous amount of caulking to the back side of the vent (as shown in the illustration). It should go around the metal pipe somewhere.
If you do not have a metal pipe attached to your dryer vent, then caulking INSIDE of the mounting holes will work just fine.
Step 2: Set Vent And Level It...
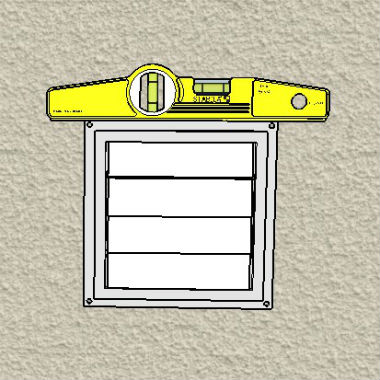
After you have the vent caulked, you will want to mount it on the wall and level it with a torpedo level.
Be sure to have the vent close to level before it touches the wall to avoid smearing caulking everywhere. You could also level the vent before you caulk the backside and scribe a line with a pencil to make it easier on you.
Step 3: Screw The Vent Into The Stucco Wall
The last step is to screw the vent into the stucco wall. This is best to do with a screwdriver, so you won't run the risk of overtightening the screw and stripping it.
You will have to pre-drill in order to screw anything into the stucco. It would also be beneficial to throw some caulk into the hole before inserting the screw. That's it!
