At some point in your project, you will have to choose a stucco color that will make everything come together, but this can be one of the hardest parts of the entire process. This article will go over the color selection process to try to eliminate some of the stress of choosing the correct stucco color for your walls.
1. Find Inspiration First!
The first step when choosing a color you like would be to look around online for colors you like so that you can narrow down the possibilities.
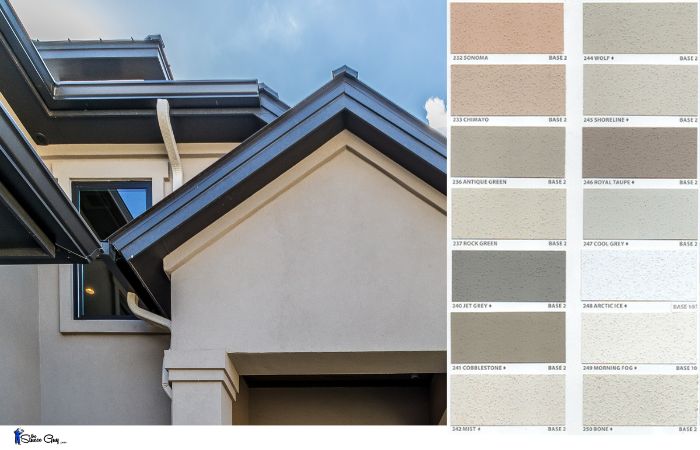
Colors: You will want to look at the stucco color, along with the trim color(s) that were used and the roof color that was used, too. These three colors will give you a good idea of what you like and what you don't like.
This is the first step in narrowing down what stucco color you like and whether you like a lighter trim color, a darker trim color or if you want the trim color to be the same color as the stucco, so it blends in more. You may also find that you do not like any trim at all, like most Spanish style stucco homes.
In most cases, you will already have your roof installed, so picking a color that also goes with the roof color is important too and worth considering.
2. Get A Hold of Some Color Charts...
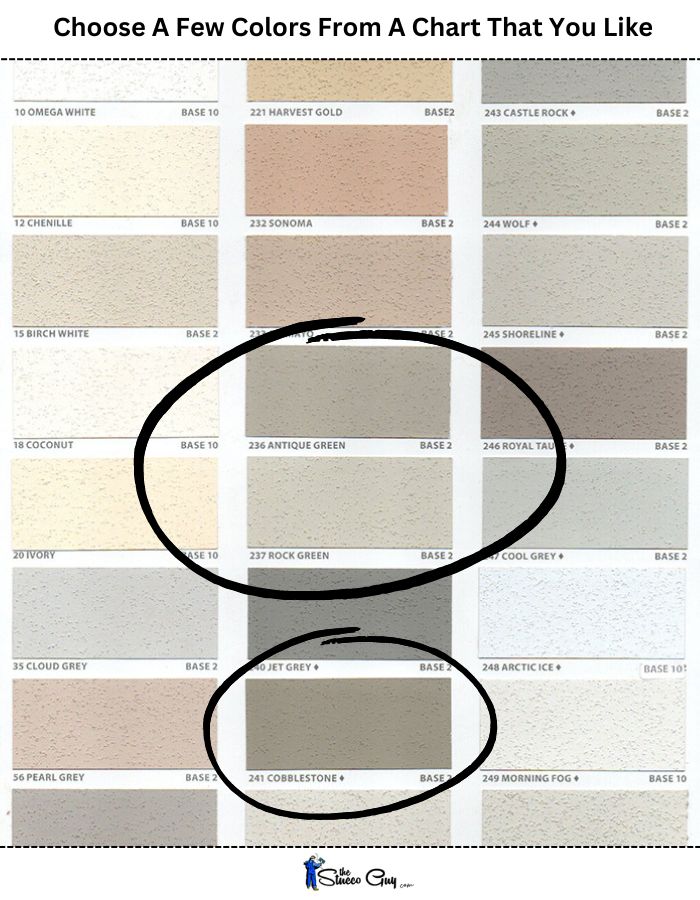
After you have your color or colors, narrowed down, you will need some color charts at your disposal to compare the color options that are offered from the color charts to the pictures you found. You could also choose a custom color that is specifically made for your project, but keep in mind that this will increase the lead time by about 2–4 weeks, in most cases.
Different manufacturers have different colors, so you want to grab two or three different charts, but make sure they are colors by manufacturer's that are available to you, either locally or by special order.

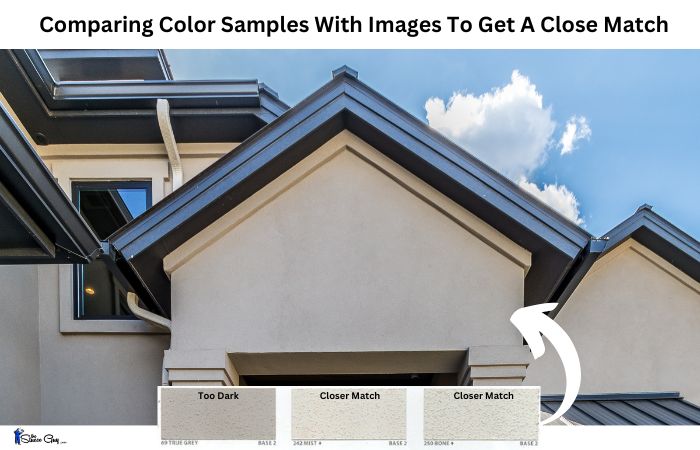
Comparing colors from a color chart and an image can be tricky. The samples on the color charts are pretty small (2"x1") and are more of a representation of the actual color. When you apply the material to the wall, it could look different depending on a number of different variables such as: outside temperature, mixing process of materials, water content (if applicable), etc.

You are better off ordering some samples or having samples applied to your walls, to get a better idea of how each color is represented.
Helpful Tip: Check your local stucco supplier to see what stucco products they carry, more specifically, what stucco manufacturer's products they carry. Then ask for those color charts, to avoid having to search for a supplier that carries a specific manufacturer's products.
3. Apply Samples To Your Walls
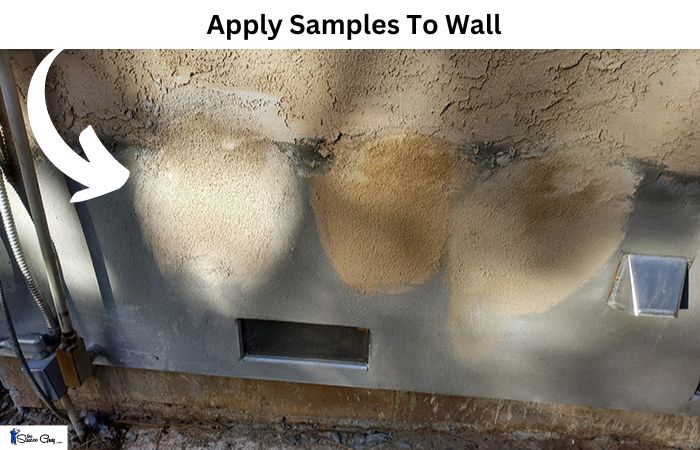
After you have a couple of colors chosen from the color charts or have your custom colors narrowed down, the next step is to apply these samples to a wall on your home, so you can see how they look under more realistic conditions.
You will also want to have your texture chosen and the color samples finished with your desired texture to get the full effect of both of these elements together. Most folks like to see a 2'x2' or 2'x3' sample on their walls to get a good feel for what it will look like.
You could do larger samples, if you would like too, just remember to have the edges blended so that when you apply a new coat over that entire wall (after color and texture have been approved) it will not show through.

The above image shows three different color samples that were applied to a repair job that was going to be recoated. The samples are smaller and closer to 14"x14" but were enough to get a confirmation of the color to be used.
Helpful Tip: Let the samples dry completely before making a decision. This is usually a 24-hour period, in most instances, especially if the outside temperature is 70 degrees (F) and hotter.
Helpful Tip: If you are having different color/texture samples applied to your walls, then there may be an added cost for this from your contractor, as it will take additional time and materials to get these samples made and applied to the wall.

