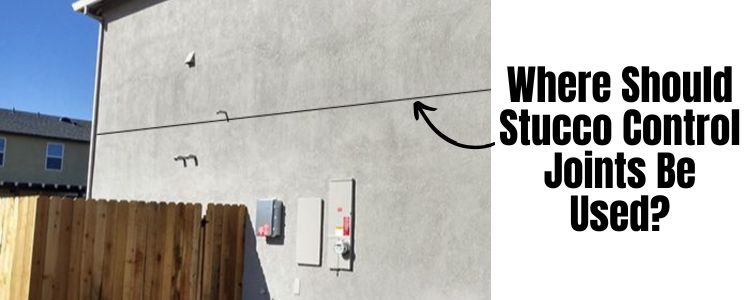
Maybe you know about stucco control joints and now you even want to put them in the wall somewhere, but you are stumped as to where to place them on the wall. This article will go into many of the details that you need to consider.
Large, Rectangular Shaped Walls...
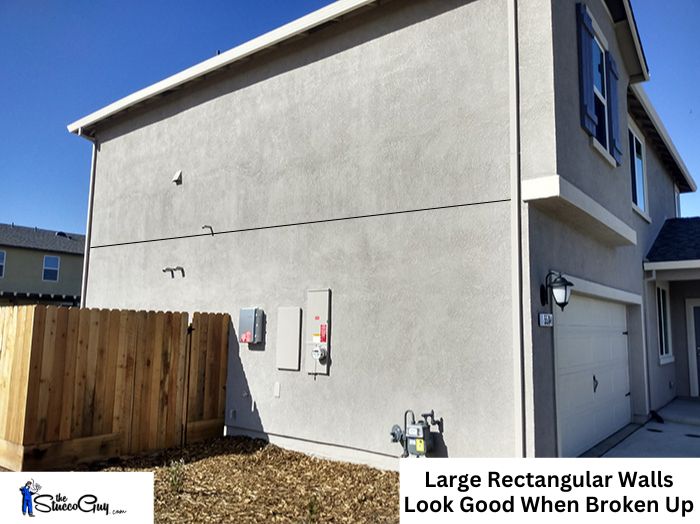
Large rectangular walls with minimal breaks in the wall (like windows and doors) will be common with today's construction style and some of the easiest to break up.
A Single Horizontal Line: Here is an example of a large rectangular wall that had no control joints installed that we will use as an example. I usually like to use a single joint on these walls that spans the wall horizontally and divides it up fairly evenly, from top to bottom. It makes the wall appear longer and shorter when it is installed this way.
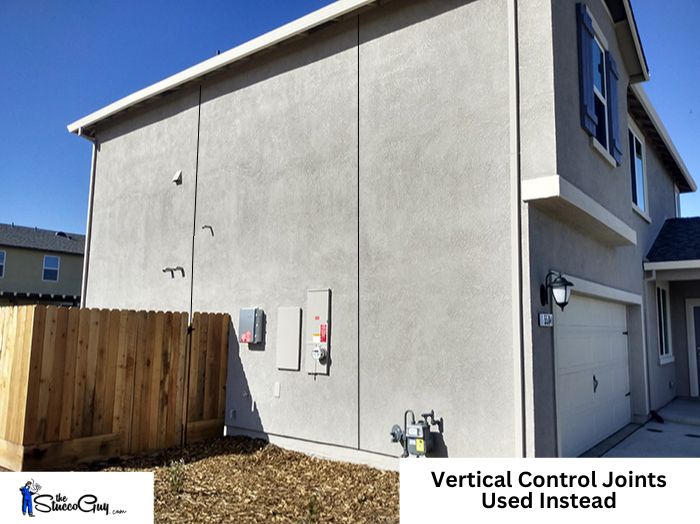
Vertical Joints: You could also install vertical joints instead of horizontal ones to get a completely different look altogether. This makes the wall look taller and still breaks it up enough to try to combat shrinkage cracking.
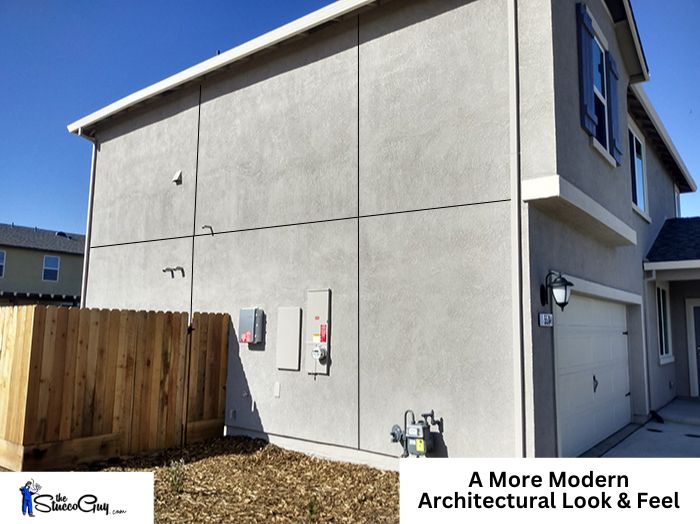
* If we look at the building code (ASTM 1063) for control joints, we can see that they recommend a 144 sq. foot maximum wall surface area and if we try to do that on our example wall, then we start to get that dreaded checkerboard look, that not many people like, so I would advise going for minimal joints on any one wall, if you can.
The single horizontal joint shown in the first image would help tremendously on this type of wall, as far as shrinkage cracking goes and looks way better than the image I have depicted below, in my opinion.
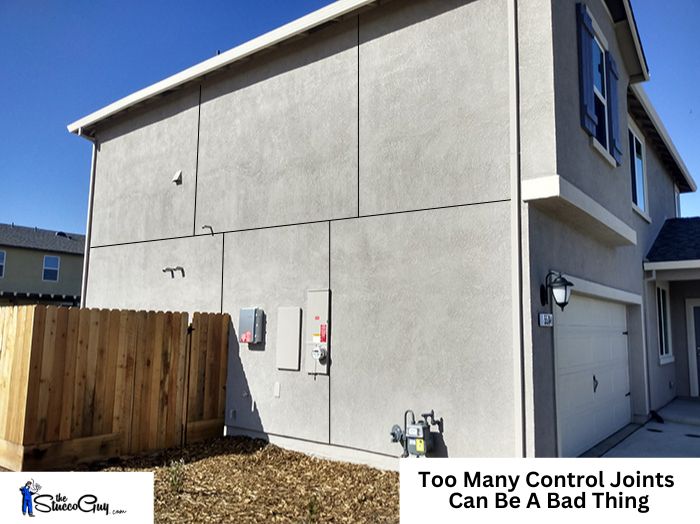
Architectural Look: This many joints in a wall could work if you are going for a more modern architectural look to the building though and the vertical joints could even be aligned for a more proportionate look and feel.
This is only one example though and more joints could be added and the location of the joints could also be changed, so plan accordingly.
Walls With Gables
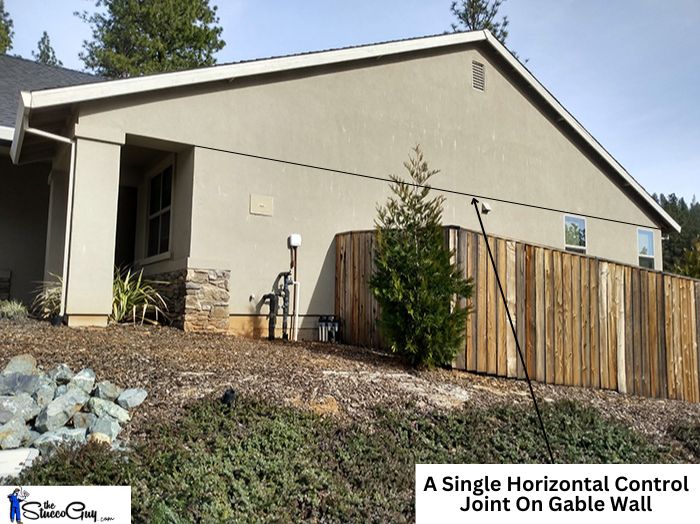
Another common wall that you will encounter on modern architecture is a gable wall, which is that big triangular shaped piece at the top of the wall pointing upwards.
Typically, one control joint will be used towards the bottom of the gable and makes the triangle shape more pronounced. This is usually the most common way to break up a gable wall and will be the way that most contractors will break up this type of roofline.
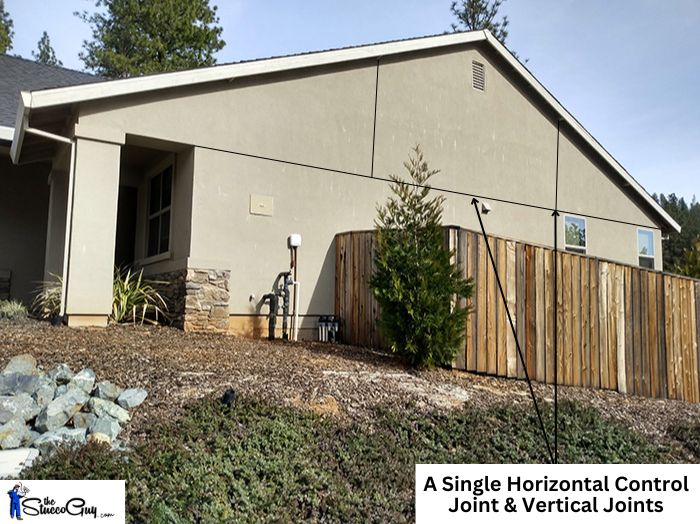
There are other options to breaking up a gable wall and this is usually done by adding more control joints. You will usually need that single horizontal control joint to span the largest part of the gable and then additional control joints are added to the wall above that. The image below depicts one example of this type of situation.
When broken up like this, it conforms more closely to the recommended 100 sq. foot maximum surface area for anglesd walls. It is better suited for very large gables, like the one I have pictured.
Walls With Windows
Another possible scenario would be a larger wall that did not have many windows installed. This could be broken up into several possible ways and I have provided a few examples of how.
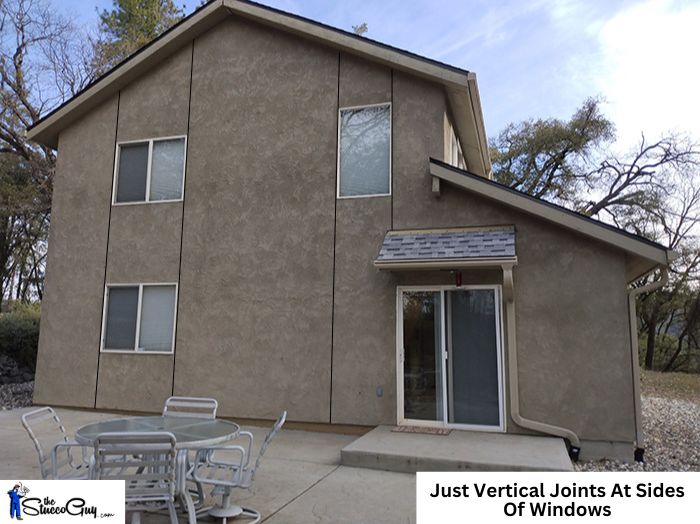
The first image below shows an example of running only vertical control joints, positioned on the right and left sides of the windows.
We can also see another example of those same vertical joints used on the same windows, in the same places, but I have added a single horizontal break as well, breaking the wall up even further.
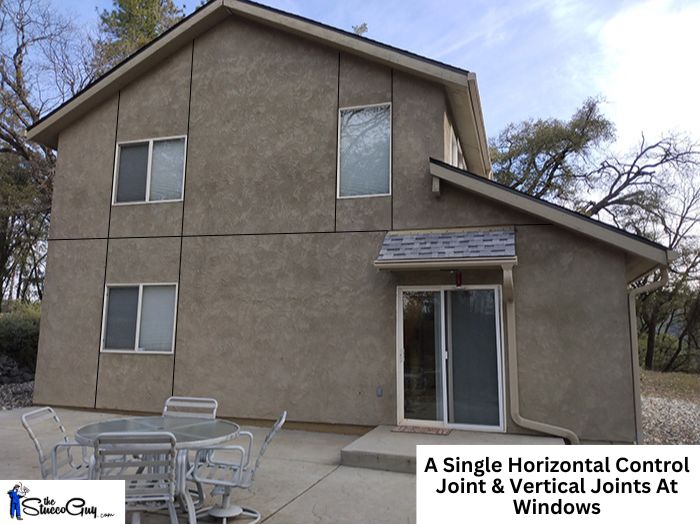
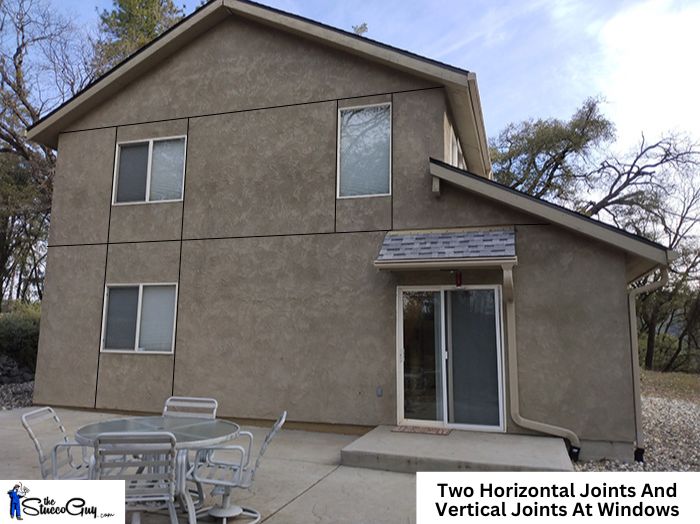
The last example I came up with has two horizontal joints installed, one at the base of the gable and the other breaking up the remaining lower portion of the wall into separate upper and lower sections. The vertical control joints are then used vertically.
Other Options:
I just laid out a few examples for you to consider and to be honest, there are many different possibilities that can be achieved. You could run control joints horizontally, vertically, diagonally, etc.
If you don't really like the look of control joints, but are required to have them installed on your project, then I would advise you to put in as few as possible and keep it simple. On the other hand, you could place a lot of them in a wall and make a more intricate design, too.

