There are a lot of houses and buildings out there that did not have weep screed installed and this could create some potential problems later on, in most cases that "later on" could be right now!
This article will go into depth about how to add a weep screed to your existing stucco wall or walls and will take you through all of the required steps.
CAD Tutorial: This tutorial is made using a simulated scenario. The process is exact and accurate though, as far as the procedure goes. If I get a chance to do a "real life" repair with this exact scenario, I will update the images in this post. Thanks for stopping by!
How A Wall Is Typically "Stuccoed" Without Weep Screed...
If you didn't have any weep screed installed, then there was no termination point at the bottom of your walls, other than the soil or something that was installed later on, like concrete, pavement, pavers, etc. So, more than likely the stucco was ran continuously to these areas, with no change in the plane of the stucco itself.
This is the "situation" I am going to use for this tutorial, even though I have seen the foundation furred out to compensate for the depth of the stucco walls above.
Investigative Demo Is In Order...
The first thing we need to do is to find the bottom plate of the wall, so essentially the lowest wooden surface, so we can attach our weep screed to it securely. The only way to do this is to started breaking out some of the stucco, starting from one corner of the wall.
Helpful Tip: I would recommend going inside and measuring from the bottom of a window to the floor, going outside and measuring from the bottom of that same window so you have a general idea of how far down to start looking.
A door will also work for this and will usually be set close to the floor height, in most cases.
Using a hammer or a rotary hammer tool of some sort will work best for this because it will remove the stucco finish and base coats and keep the paper and wire in tact, in most cases. You could also cut the area out with a grinder and a diamond blade but you would still have to break out the perimeter to expose the paper and wire, which is needed for the tie in.
Once you have found the area where the foundation and bottom plate meet, then you will want to make sure that you give yourself enough room to install the new piece of weep screed.
I would recommend breaking out at least 4 inches of stucco above the foundation, due to the 3 1/2" flange that is on the backside of the weep.
You will want to continue to break out more stucco until you get to the other corner of the wall, maintaining that same 4" clearance that we were going for on the initial break out. You are also going to have to break out all of the stucco below that is attached to the foundation, in order to give the new weep screed a transition point.
Remove Nails And Staples
Now we have to pull all of the nails and staples that are holding the wire down, along with any staples that were used too. You will also have to remove the smaller staples that hold the paper down. This will be essential because the weep screed has to go behind the paper.
Hang Weep Under Paper & Wire
The next step is to actually hang the weep screed on the wall. You will want the bottom of the weep to be roughly 1" below the top of the concrete foundation, to wick water away from any wooden elements. Be sure to nail the weep towards the top of the flange, if you can.
Outside Corners, Inside Corners and Joining Two Pieces Together
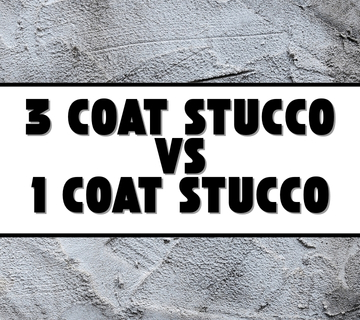
If you are going to encounter outside corners, inside corners or want to know how to join two pieces together, you first have to know what system you have installed, which is usually either a 3-coat or 1-coat system.
After you have that information, you can then view my other articles on how to cut and install weep screed for a three coat system or a one coat system, as each are a different depth and will be cut slightly different.
Continue Down The Whole Wall or Walls...
Now just continue down the wall, installing enough weep to cover any areas that need to be covered. It is recommended that you overlap each piece by about 1".
Counter Flash Existing Paper & Wire
The next step is to now counter flash the existing paper with more paper, but we are going to want to slip the paper under the existing paper on the wall. Be sure you go up as high as possible to prevent water intrusion.
You may have nails or staples that will stop your new paper from sliding up as far as you would like and really you want to aim for a minimum overlap of at least 2 inches. Work with smaller pieces of paper (12-36" in length) and overlap those vertical seams by at least 6".
Cut New Piece Of Wire & Nail Off
You will now want to cut a new piece of wire that fits over the patch area and in a way that overlaps the existing wire at least 3", if possible. This will prevent cracking in the future. The image below shows a full overlap, which is best and will give a much better "key" when it comes to adding the scratch coat.
Apply The Scratch Coat
The scratch coat is the next thing to happen in this process, so you will have to mix up some base coat material, whether that is a custom mix that you make your self or a pre-bagged mix that you buy.
You will want to try to get an even layer of around 3/8" to 1/2" on the entire area and apply it as evenly as possible. Then take a "scratcher" and make horizontal lines in the base coat to allow a good mechanical bond for the brown coat.
Apply The Brown Coat
The brown coat is the next step in this quite extensive process, but it is nearly the last step, besides applying the finish coat. You will need to mix up more of the same base coat material that was used for the scratch coat and apply it to a dampened scratch coat.
You will want to put on enough material so that when you run your trowel across the patch area, it will be flush with the existing finish coat.
After the brown coat is applied, you will then want to wait until the base coat material is thumbprint hard and then you will want to float it in. I have a green float shown for this process in the image below, but a hard neoprene float can be used as well but is harder to find, in most cases.

Apply The Finish Coat
You will want to let the brown coat sit for about a week (7 days) before applying the finish coat and be sure to water the brown coat at least 2 times a day to get a good cure in the materials. The finish coat material is a pre-blended product and all you do is add water.
The finish coat is applied a lot like the brown coat, but is usually only 1/16" to 1/8" thick and can consist of one or two coats, depending on your finish. The example I have in this tutorial is a cat face finish and requires two coats. The first coat is applied with a trowel and then floated with a green float.
After it has set up a bit (30 min-2 hours) a second coat is then applied, covering most of the surface and leaving empty spaces in the wall randomly.
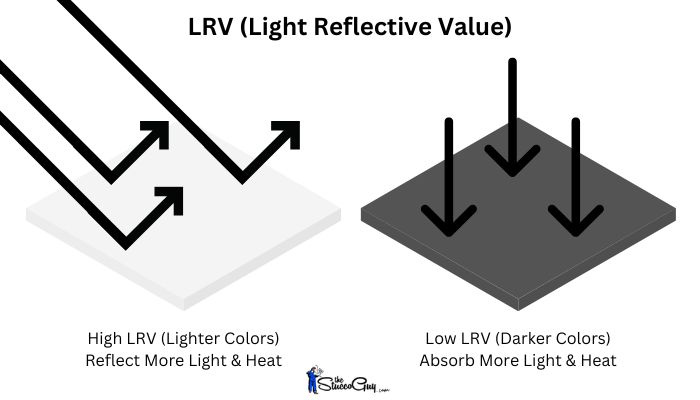
You might need to paint, in most cases to match the existing color. The other option would be to add color to the finish coat material itself, but that is extremely hard to get a good match.