The one coat stucco system is not a complicated system to understand and is not really all that different from a three coat stucco system, with a dew minor differences between the two.
What Is a One Coat Stucco System?
A one coat stucco system is a stucco system that consists of:
- A lath coat (water-resistant paper, 1" foam and wire)
- A brown coat (a leveling base coat)
- A finish coat (a colored and textured coat)
This is what the one coat stucco system consists of and what the different layers look like.
The Name: The name of the system implies a single coat for the system (like the three coat stucco system), but it consists of a base coat and a finish coat and is why some people refer to it as a two coat system, but this is a common misconception and they are known as "one coat stucco systems" in the industry.
The Layers Of A One Coat Stucco System:
Let's take a closer look at the layers of a one coat stucco system to get a better idea of what they are, how they work and why they are there in the first place.
The Lath Coat:
The lath coat consists of your asphalt infused paper (two plies), an insulating foam (EPS) that is usually 1" thick and then a 20 gauge wire that goes on top of the foam. It would also include all the weep screed, plaster stop and corner aid you would need too.
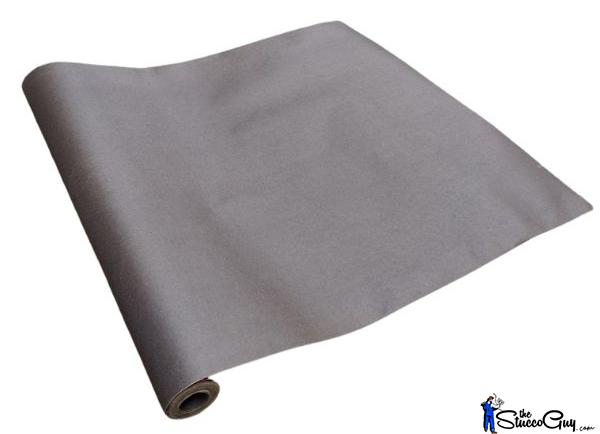
The paper: There are two plies of paper that get installed on the wall first and is usually either 10 minute paper or 60 minute paper. This paper is asphalt infused, like roofing felt is, but the paper itself is much thinner and has more of a butcher paper weight and feel to it.
This is what keeps the water from getting inside the building and is the water proofing part of the process. It is attached to the wall using staples and a stapler.
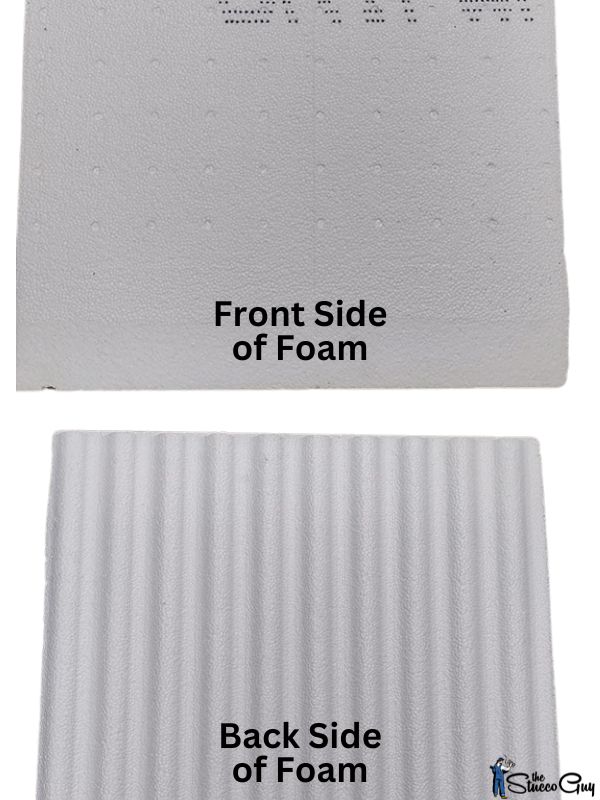
The Foam: The foam that goes on next serves two purposes, and that is an insulating purpose and acts as a filler. The foam used is usually an EPS foam and comes in two sizes: (2 feet x 8 feet) or (4 feet x 8 feet) and is usually 1" thick.
The edges of the foam have a tongue on the top and a groove on the bottom, so they fit together via those tongue and groove sections. The face of the foam is completely flat and the backside of the foam has grooves in it to allow for water drainage, if it makes its way past the foam.
The foam is nailed to the wall using roofing nails and is only tacked in place, using a minimal amount of nails because the staples that will hold down the wire will attach all the lath layers together.
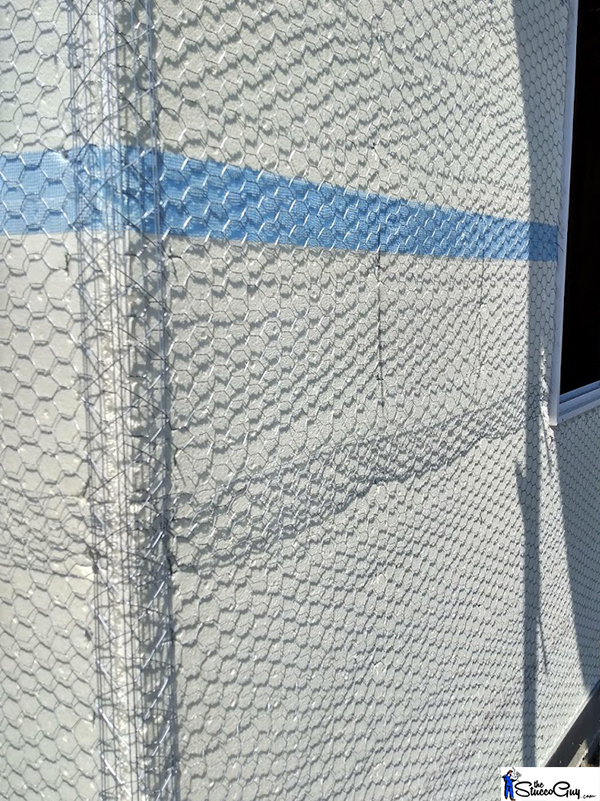
The Wire: The wire used on a one coat stucco system is similar to the wire that is used on a three coat system but is thinner, made from 20 gauge wire. It is furred (sticks off of the foam slightly) but not much, due to the base coat depth of these systems being only 3/8" thick. It is attached to the wall using either roofing nails or wide crown staples.
The Brown Coat:
The brown coat is the base coat that is applied on top of the foam and wire and is usually around 3/8" thick and uses a special type of mix in its design. The brown coat is applied evenly over the foam and wire and is smashed into the wire, which holds it in place. This provides a suitable and strong base for the finish coat to be applied to.
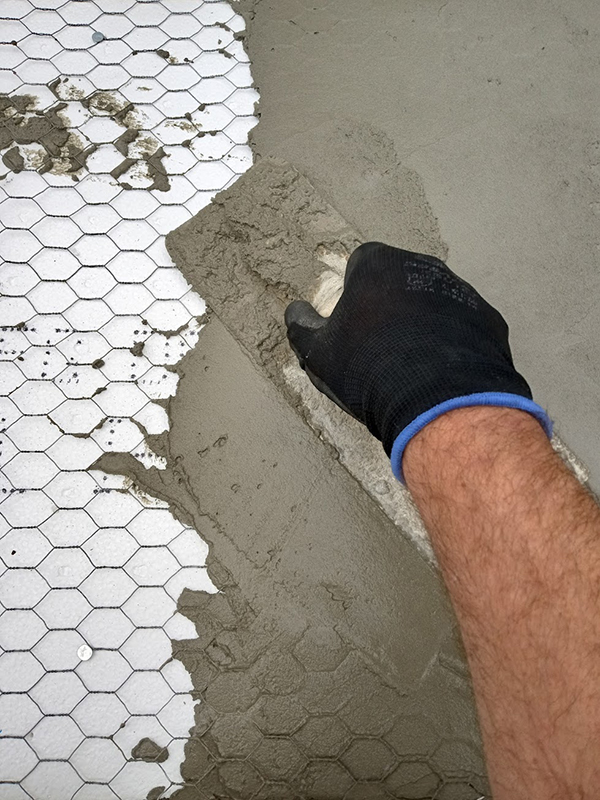
A Special Base Coat Mix: Like I mentioned, the base coat mix consists of cement, sand, lime, strands of fiber (usually fiberglass) and other "proprietary" ingredients. The proprietary ingredients usually include things like dry polymers that help to reduce the amount of water you need when mixing, which in turn helps to minimize cracking.
The Finish Coat:
The finish coat is then applied over the brown coat and can be textured and colored to match a variety of different looks. The finish coat is usually applied at a thickness of 1/8" and is usually applied in one single coat.
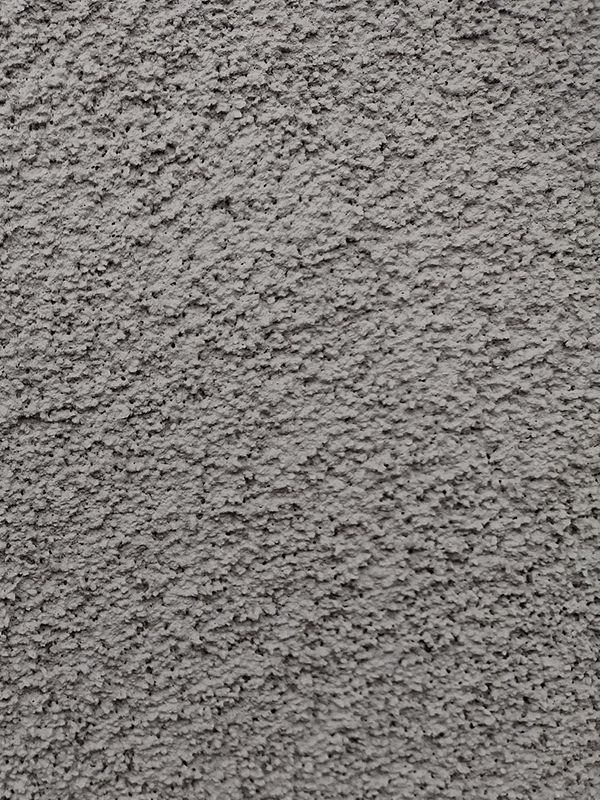
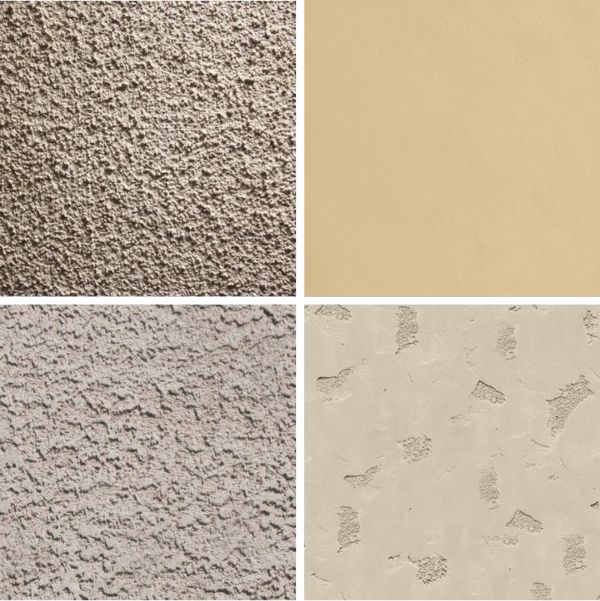
Textures: Most stucco textures will only require a single finish coat to be applied to the wall to get the desired look. Other stucco textures require two finish coats, in order to achieve a specific type of texture or finish.
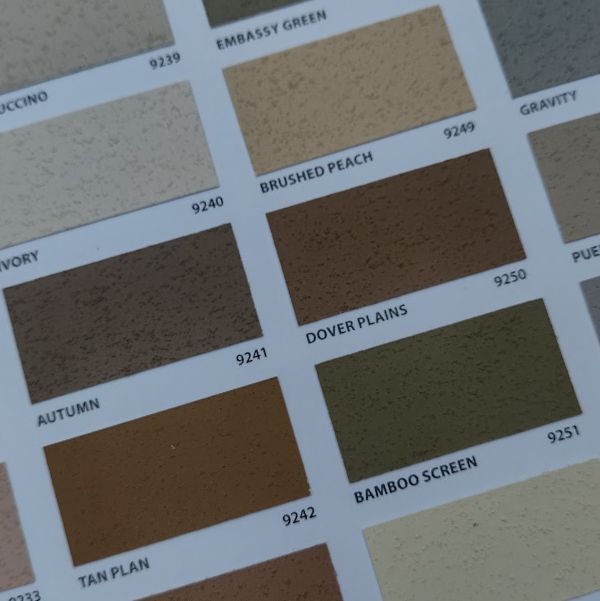
Colors: The colors can be added to the finish coat, or it can be painted, but more often than not, the color is added to the finish itself and integrally colored. These colors can be picked from a color chart or can be custom matched to just about any color, if an acrylic finish is used.
How The Base Coat & Finish Coat Is Applied:
Both the base coat and finish coat of the one coat stucco system can be applied by hand, using simple hand tools or by spraying it on, using a large pump.
Mixing the Materials: The materials can be mixed using a smaller mixing drill and a bucket or bin, or a large mixer can be used. The method you choose will be based on how much material you need and what you have at your disposal.
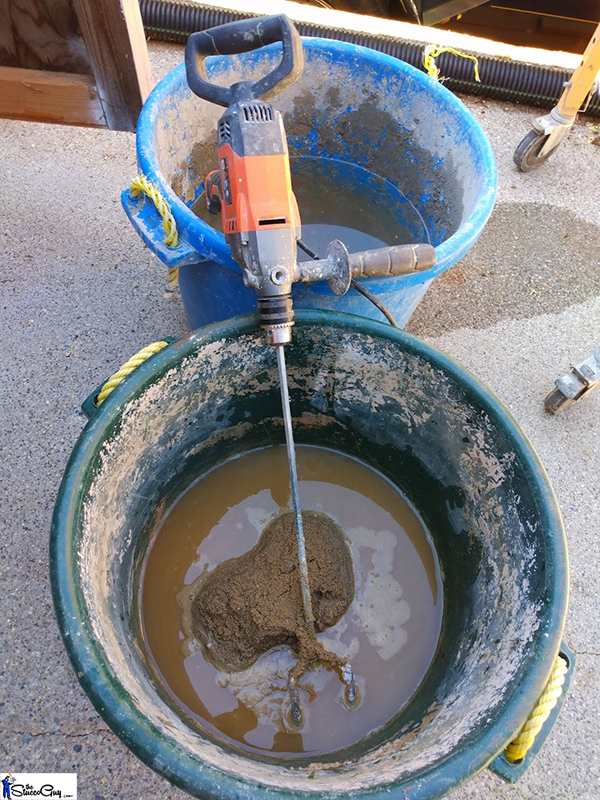
Applying by Hand: The most common way of applying the base coat and finish coat is to use a hock and trowel, The hock holds small amounts of material and the trowel is used to transfer that material from the hock onto the wall, using pressure.
Spraying it On: Many large companies will use a pump instead because it is so much faster and they can usually get a large house done in just one day! After the material is sprayed on the wall, it has to be worked with hand tools to bring it to its final stage.
Curing Times:
There are cure times for both the base coat and finish coat of the one coat stucco system. Cure time is basically just the amount of time it takes the material to dry and become hard or develop its strength.
The cure time for the base coat is usually 7 days and for the finish coat it can range from a couple of days (acrylic finishes) to 28 days for cement based finishes.

